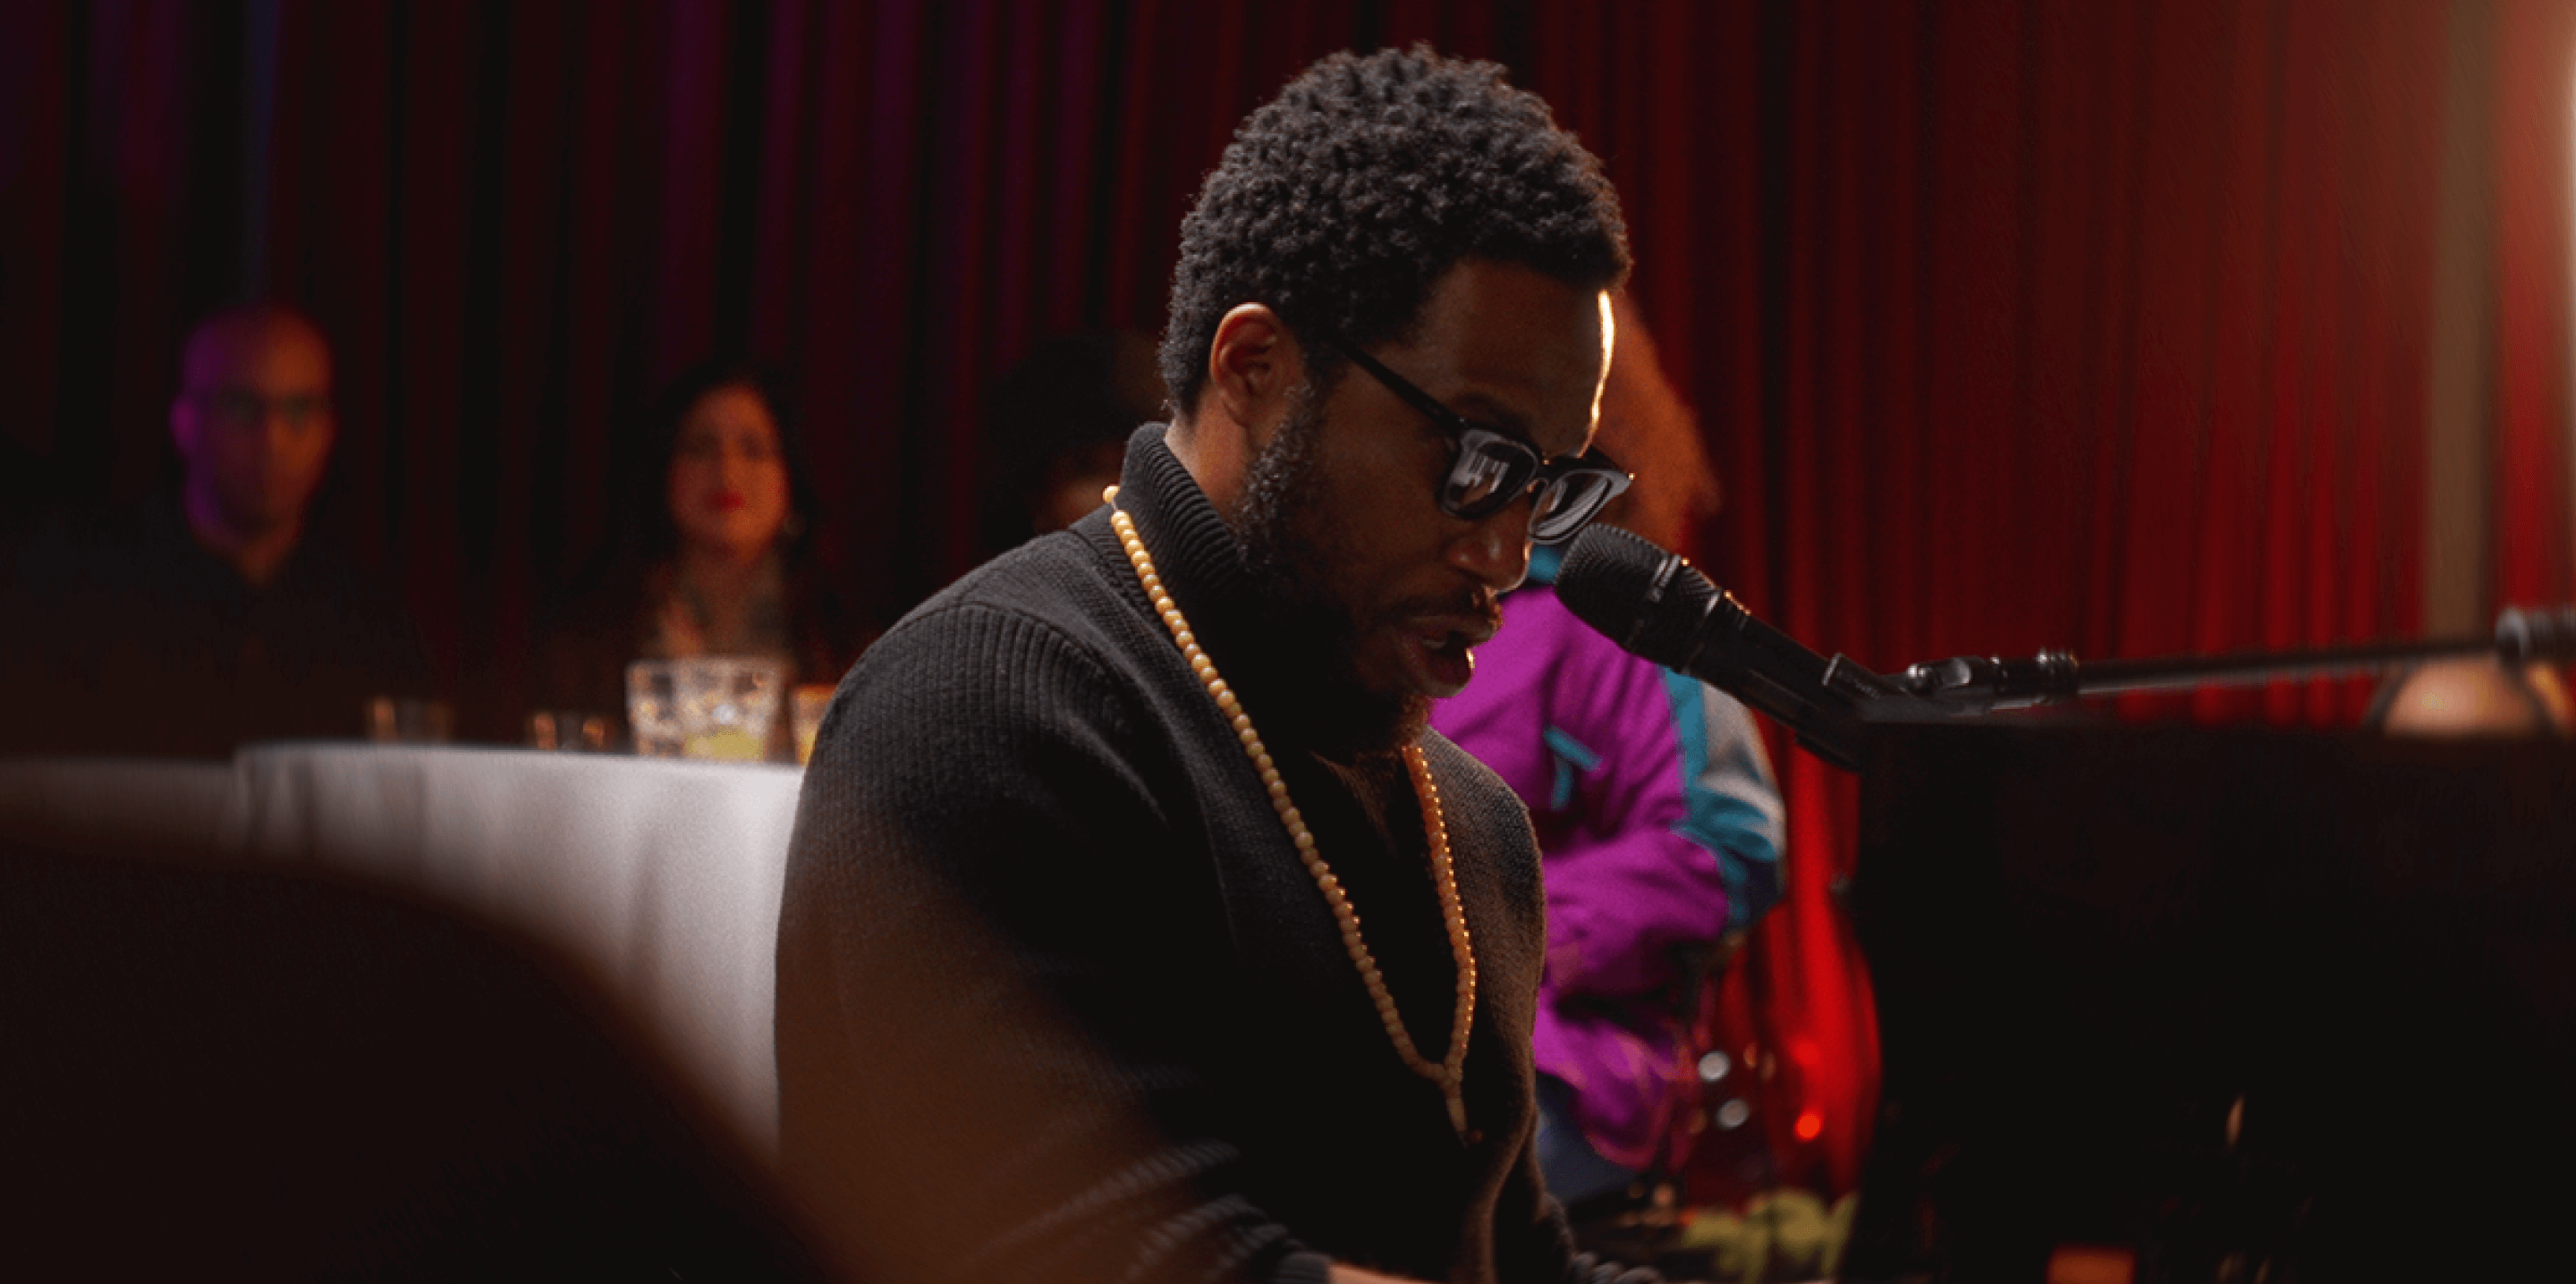
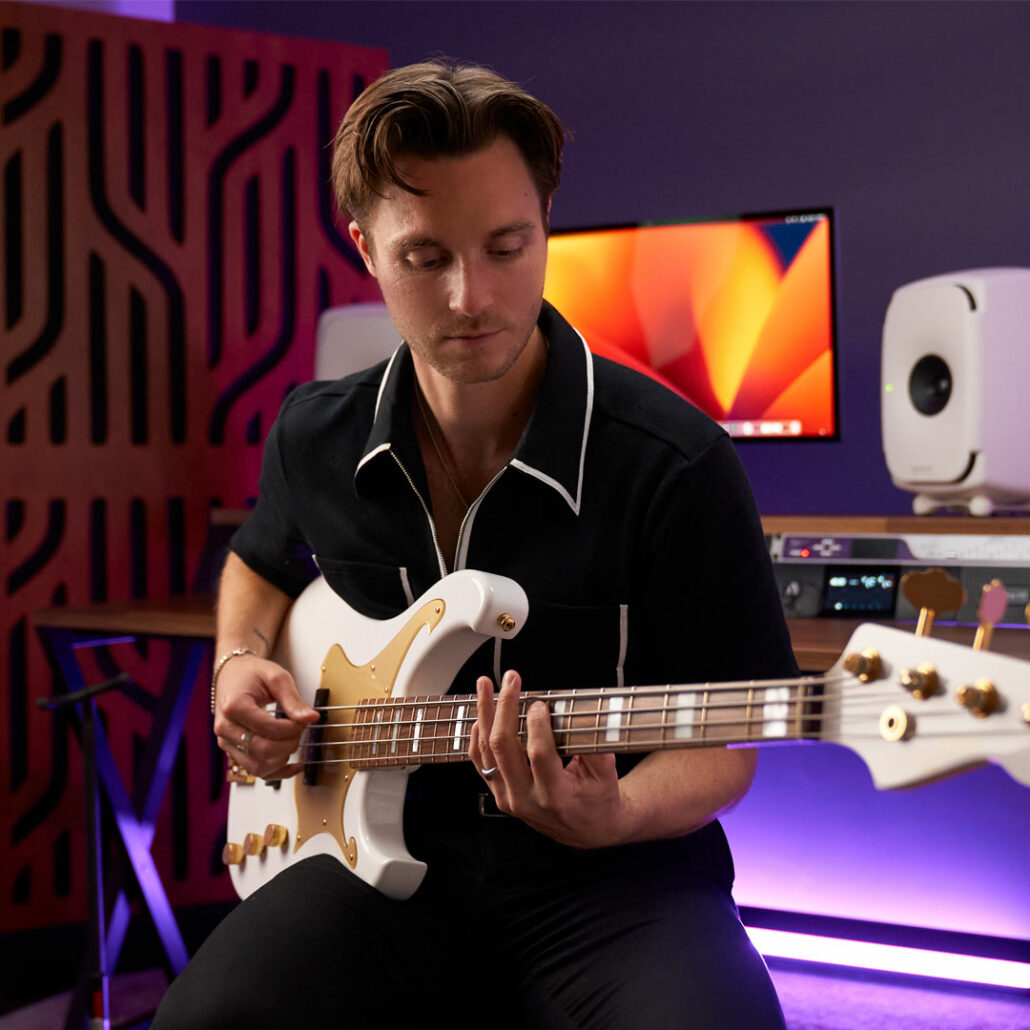
Used by the best. Inspiring the rest.


Our mission
We provide our customers with an unparalleled experience by making the best professional audio devices in the world. Our products deliver ultimate sound quality, inspiring simplicity and incredible value. We will continue to innovate and challenge old paradigms with new solutions that advance audio recording and elevate creativity.


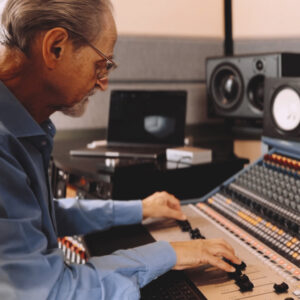
Our Story Begins in 1985.
CD’s didn’t sound good until we showed up.
By developing special anti-aliasing filters, We paved the way forward for digital audio to become the standard.
Read the whole story
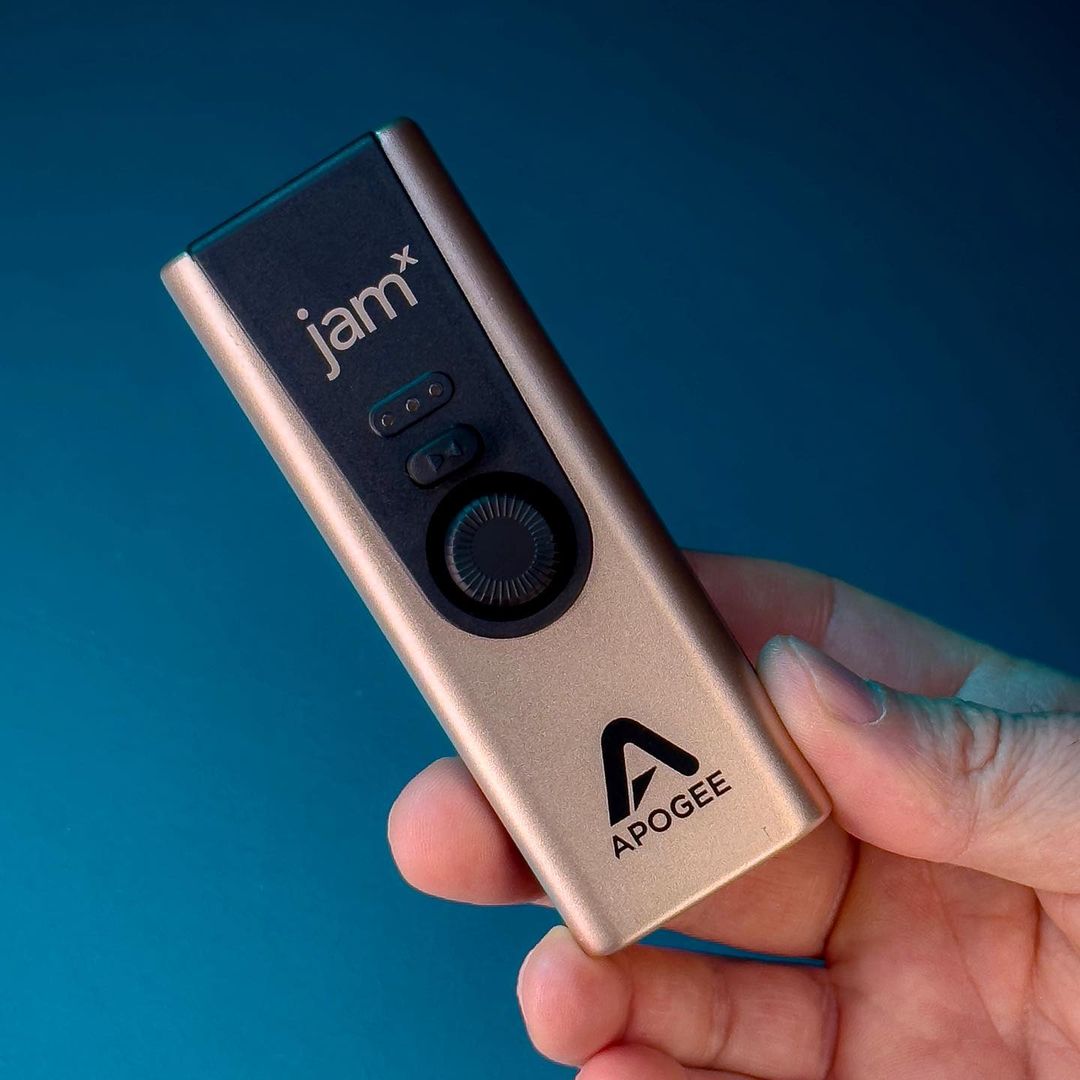
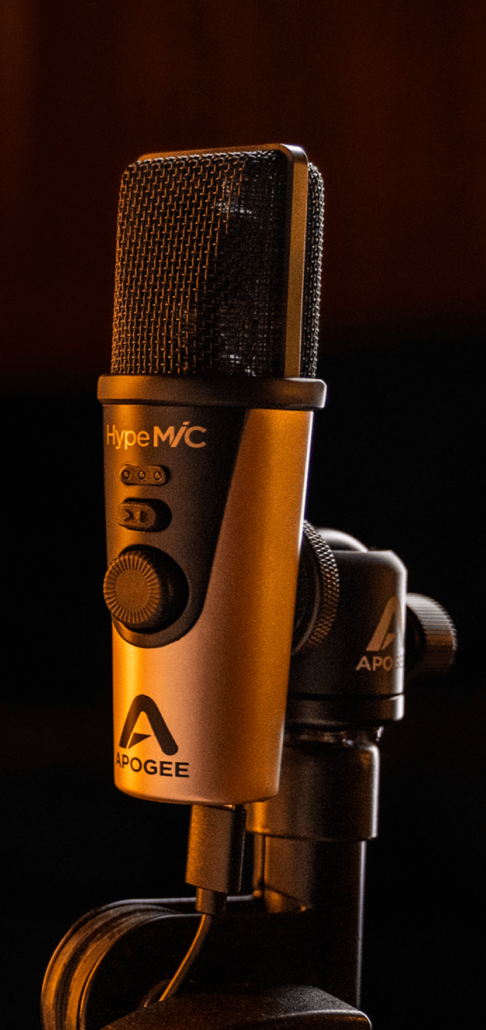
Today, Apogee converters and
audio interfaces are regarded as the reference
standard in the audio industry.